Hi, before we get started on the tutorial on how to create a “Homemade FTP server” you will need to have the following requirement and if you need a printable version of this tutorial you can get it here :-
- A router modem that support DHCP
- Knowledge on router configuration
- Filezilla Server
- Filezilla Client
- no-ip account
Make sure you are using the latest FileZilla Server and Client. If you do not have the software required you can download it directly from Filezilla website.
If you have everything in order lets start with the first procedure :-
- Creating a domain name
- what you need to do is go to http://www.no-ip.com/ to register for a free domain name.
- after you have register your self >login > click on the Host/Redirects tab
- Router configurations :-
- I am using TP-Link TD-W8960N Modem router, if you are using a different router the configuration should be almost the same as what I am using.
- First you need to assign your computer/server to a static LAN IP address
- Then you need to create a “Virtual Server” to point the static LAN address to your server, the Start Port is 21 and the End Port is 21. Use the “TCP/UDP” protocol
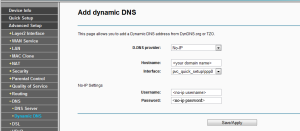
- After creating a “Virtual Server” you need to configure the “Dynamic DNS”. On any router the “Dynamic DNS” settings should appear under the “Advance Setup”.
- FileZilla Server Configuration
- We are almost at the end of our tutorial, just a little bit more you will have your own “FTP server”
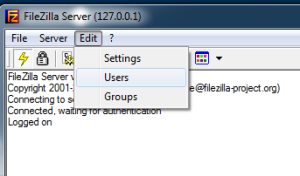
- Click “Edit” > “Settings”
- When the “FileZilla Server Options” window comes out > select “Passive Mode Settings” > tick the “Retrieve external IP address from:”> fill in your “No-IP host” Domain name e.g: http://no-ip.zapto.org
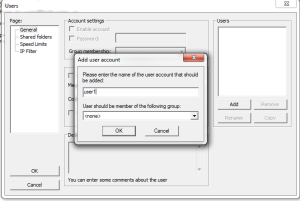
- Before you can use the server you need to create a “Username” in order for you to access the server, follow the instruction given bellow to create your username
- When you are done with the “Users” settings, you need to setup the Shared folders
- Done! its finish now you have your own at home FTP server, using the filezilla client you can access your server from anywhere as long as you have an internet connection. If this tutorial is useful please donate USD1 for my study fund thanks!


